
Container Gardening for First-Time Gardeners Made Simple
The garden center can make a first container garden feel harder than it is. Rows of pots, bags of soil, fertilizers, trellises, moisture meters, and dozens of seedlings can turn a simple idea into a cart full of expensive guesses. Container gardening for first-time gardeners works better when you shrink the decision list. You need a container with drainage, a dependable potting mix, a plant that fits the light you have, and a watering routine you can actually keep. From there, you can expand slowly. This guide focuses on low-cost choices, the mistakes that cause most beginner frustration, and the small troubleshooting clues that tell you what a plant needs before you start buying solutions.
Key takeaways
- Match each plant to the amount of direct sun your space actually receives.
- Choose containers large enough to buffer roots from rapid drying and temperature swings.
- Use potting mix rather than dense garden soil so roots get both moisture and air.
- Check plants with your fingers and eyes before watering on a fixed schedule.
- Start with a few containers and learn their rhythm before adding more.
In this article
- What does container gardening for first-time gardeners really require?
- How do you choose pots and soil without overspending?
- Why watering is the skill that matters most in containers
- In practice: three first gardens that stay manageable
- Frequently asked questions
- Your action checklist
- Bottom line: let your first container garden teach you
What does container gardening for first-time gardeners really require?
Container gardening for first-time gardeners requires four essentials: enough light for the plants you choose, a container with drainage holes, a loose potting mix designed for containers, and consistent access to water. Everything else is secondary. If those basics are right, even inexpensive pots can support healthy herbs, flowers, leafy greens, or compact vegetables.
Before buying anything, observe your space for one clear day. Note when direct sun reaches the planting area and when it leaves. A spot that looks bright through a window may receive less direct sun than you assume. Fruiting crops such as tomatoes and peppers generally need more sun than many leafy greens and herbs. If your area is partly shaded, choose plants for that reality instead of trying to force sun-loving crops to perform.
Then think about water. Containers dry from every side and can change quickly during hot or windy weather. If the nearest faucet is down two flights of stairs, a huge collection of small pots becomes a chore. Fewer, larger containers often make a better beginner setup because they hold more potting mix and usually dry more slowly. They also give roots a larger buffer against abrupt temperature shifts.
- Track direct sun across your space for one day.
- Pick two or three plants that suit that light.
- Choose containers with drainage holes and enough root volume.
- Fill with fresh potting mix rather than soil dug from the yard.
- Place containers near a practical water source before planting.
How do you choose pots and soil without overspending?
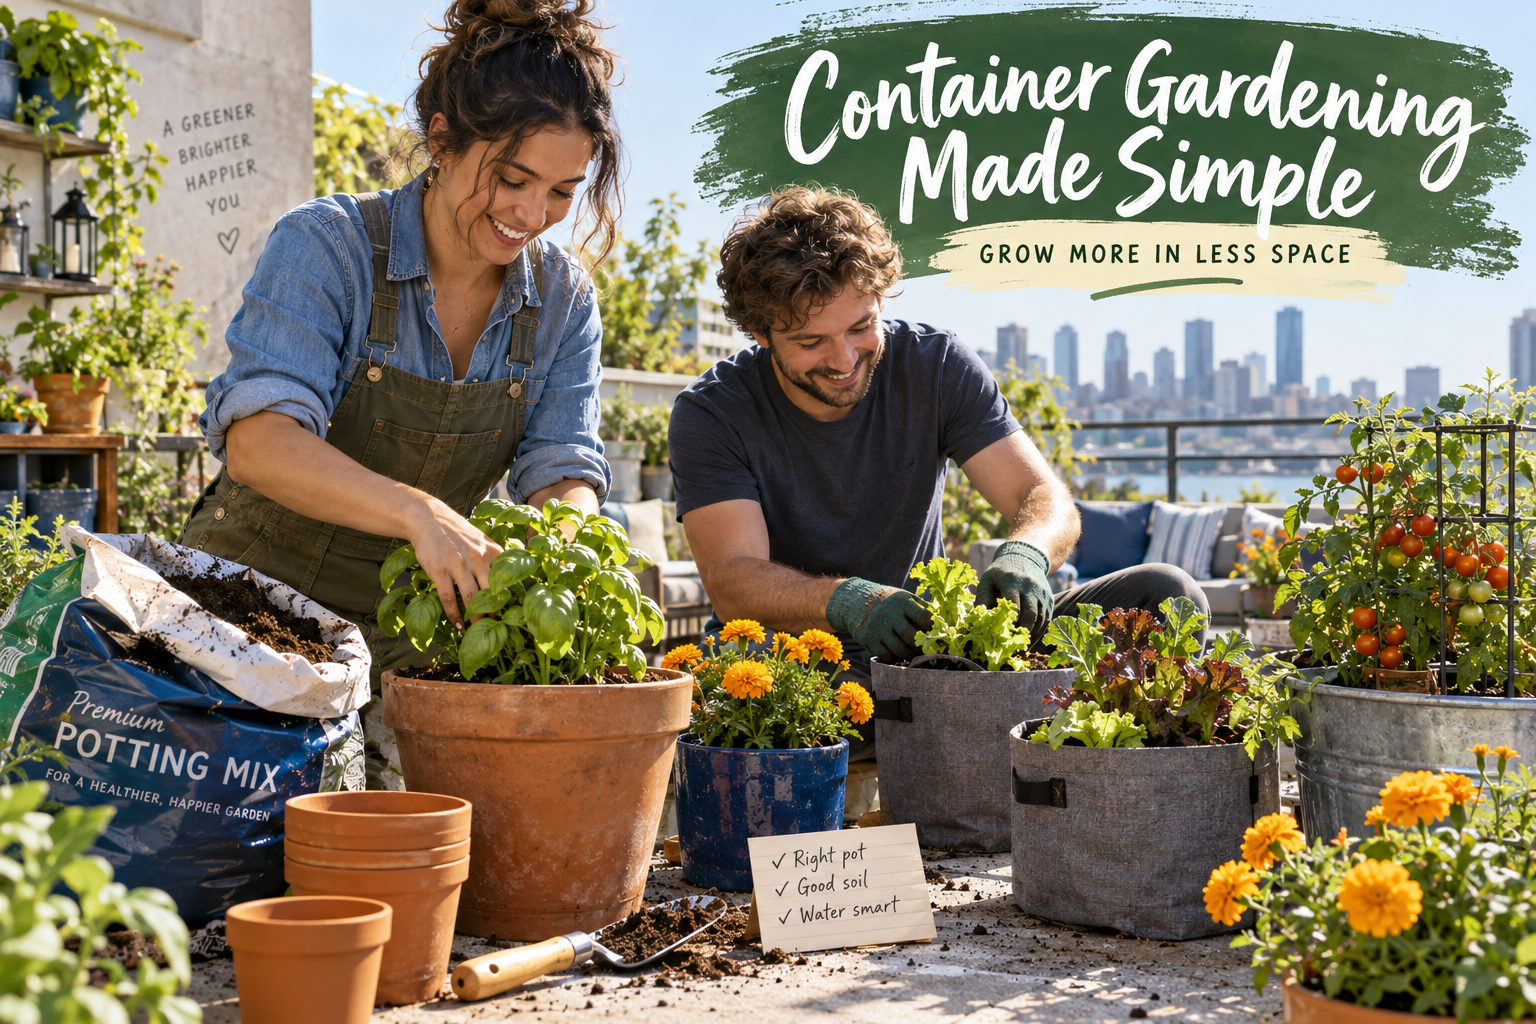
You do not need matching decorative planters. Food-safe buckets with drainage holes, sturdy nursery pots, fabric grow bags, window boxes, and repurposed containers can all work. Spend your attention on size, stability, and drainage. Small pots are cheap but can dry rapidly. Very dark containers can heat more strongly in full sun. Tall plants need enough base weight that wind will not tip them.
Drainage holes are non-negotiable for most conventional container gardening. Roots need oxygen as well as water. A pot with no drainage can hold a hidden saturated layer even when the surface looks dry. Skip the old advice to create a deep gravel layer at the bottom as a substitute for proper drainage. Instead, use a container that can release excess water and place a saucer underneath only where you need to protect a surface; empty standing water when necessary.
For soil, buy a bag labeled for pots or containers. Good potting mix is lighter than garden soil and is formulated to balance drainage with water retention. Reusing old mix is possible, but a first-time gardener will usually find fresh mix simpler because its structure is more predictable. Fill the pot while leaving a little headspace near the rim so water can soak in rather than running straight over the sides.
Your first container garden does not need premium décor; it needs roots with room, air, moisture, and the right light.
Why watering is the skill that matters most in containers
A watering calendar sounds convenient, but plants do not read calendars. Temperature, wind, plant size, pot material, and rainfall all change how quickly a container dries. The most useful beginner habit is to check the pot before watering. Push a finger into the upper layer of mix. Lift smaller containers to learn how a dry pot feels compared with a freshly watered one. Look for leaves that are losing firmness, but do not wait for repeated severe wilting.
When the mix truly needs water, water thoroughly enough that moisture reaches the root zone and some excess drains from the bottom. A quick splash on the surface can encourage shallow wetting while leaving deeper roots dry. During very hot weather, containers may need more frequent checks. Morning watering is convenient because you can assess the plant before the heat of the day, but the best time is ultimately the time you can water thoroughly when the plant needs it.
Feeding is also simpler than product shelves suggest. Many commercial potting mixes contain starter nutrients, but container plants eventually use what is available. Follow the label of a fertilizer appropriate for your plants and avoid assuming more is better. Excess fertilizer can stress roots. If growth slows, first check light, watering, root space, and temperature before deciding the plant has a nutrient problem.
- Dry surface plus dry mix beneath: likely time to water.
- Constantly wet mix and yellowing leaves: check drainage and watering frequency.
- Tall, weak growth: investigate light before adding fertilizer.
- Water rushing down the pot edges: slow down and water in stages so the mix can absorb it.
In practice: three first gardens that stay manageable
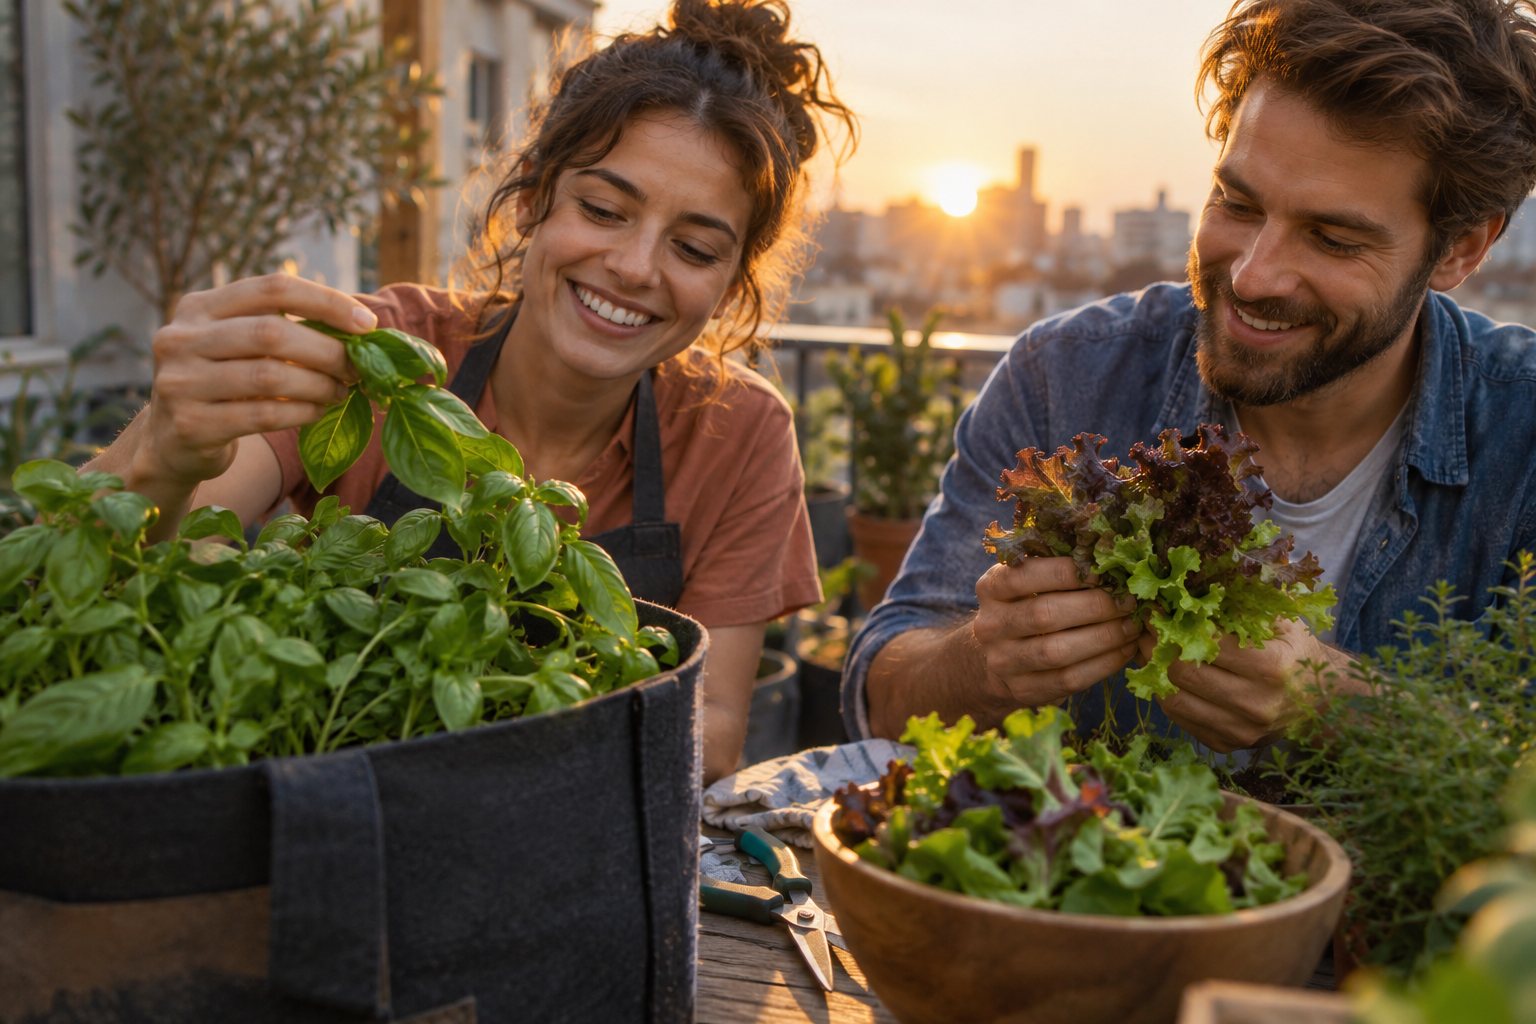
Leah’s sunny patio: Leah has strong afternoon sun and wants vegetables. Instead of planting six crops, she starts with one large cherry tomato container, one pepper, and a wide pot of basil. She positions them before filling the containers because wet potting mix is heavy. She adds support to the tomato at planting time rather than waiting until stems flop. Her small setup lets her learn daily water demand without turning gardening into a second job.
Marcus’s partial-shade steps: Marcus gets only a few hours of direct sun. He skips tomatoes and chooses parsley, mint in its own pot, chives, and loose-leaf greens. His harvests are smaller than a full-sun vegetable garden, but the plants match the site. Because the steps are near his kitchen, he notices dry pots quickly and actually uses the herbs in meals.
Aisha’s windy balcony: Aisha’s biggest problem is not light but wind. She chooses broad, heavier containers instead of narrow tall pots and groups them where a railing breaks the strongest gusts. She avoids overfilling the balcony with tiny pots that would dry rapidly. When leaf edges brown, she checks moisture and wind exposure before assuming disease. That habit—diagnose the environment first—keeps her from buying unnecessary treatments.
Frequently asked questions
What are the easiest plants for a first container garden?
Herbs such as basil, parsley, chives, and mint can be approachable when matched to the site, while loose-leaf greens are useful for cooler or somewhat less sunny conditions. In strong sun, compact tomatoes or peppers can work if the container is large enough and watering is consistent.
Can I use garden soil in containers?
Dense soil dug from the ground often compacts in pots and may drain poorly. A potting mix made for containers is usually a more reliable starting point because it is designed to hold moisture while preserving air spaces around roots. That balance is especially helpful for beginners.
How big should a container be?
The answer depends on the mature plant. Herbs and small greens need less root volume than tomatoes, peppers, or other large crops. When uncertain, choose a slightly larger container rather than the smallest pot that technically fits. More mix usually provides a better moisture and temperature buffer.
How often should I water container plants?
Check the pot instead of using one fixed interval. Weather, wind, plant size, container material, and location all change drying speed. Feel the mix below the surface and water thoroughly when the root zone is becoming dry. In hot weather, you may need to check more than once a day.
Why are my container plant leaves turning yellow?
Yellow leaves have several possible causes, so start with basics. Check whether the mix is staying constantly wet, whether drainage holes are open, how much light the plant receives, and whether roots are crowded. Nutrient issues are possible, but environmental problems are often easier to identify first.
Your action checklist
- Observe your planting area and record its direct-sun hours.
- Select two or three plants suited to that light.
- Buy or repurpose stable containers with drainage holes.
- Fill them with fresh potting mix and leave watering headspace.
- Position large containers before they become heavy.
- Check moisture by touch instead of watering automatically.
- Review light, drainage, and water before treating a struggling plant.
Bottom line: let your first container garden teach you
The smartest approach to container gardening for first-time gardeners is intentionally modest. Choose plants for your real light, give roots enough room, use proper potting mix, and learn the feel of moisture before expanding. That foundation turns troubleshooting into observation instead of panic. You do not need a picture-perfect terrace this weekend. You need two or three containers that are easy to reach and easy to understand. Plant them, watch how they respond for a few weeks, and let that experience guide what you add next.
One Comment