

How to Plan Composting Step by Step in Small Spaces
You finish chopping vegetables, look at the bowl of peels on the counter, and think, I should probably compost this. Then reality shows up: you have a balcony, a tiny patio, or one corner near the back door—not a sprawling backyard. The good news is that you can plan composting step by step without needing much room, expensive equipment, or a perfect formula. A small, well-managed system can handle a surprising amount of kitchen and garden material while staying neat. This guide gives you a practical season-by-season rhythm, explains what belongs in the bin, shows how to prevent the usual smells and fruit flies, and helps you recognize when the finished material is ready for your containers or beds.
Key takeaways
- Choose a compost system based on your available space, household scraps, and how hands-on you want to be.
- Balance moist nitrogen-rich greens with dry carbon-rich browns so the pile stays active without becoming soggy.
- Use a simple weekly check for moisture, airflow, smell, and particle size instead of obsessing over exact ratios.
- Adjust your routine by season and harvest finished compost only when it looks dark, crumbly, and earthy.
In this article
- How to plan composting step by step when space is limited
- What should go into a beginner compost mix?
- Why a seasonal composting plan works better than one fixed routine
- In practice: three small-space composting scenarios
- Frequently asked questions
- Your action checklist
- Takeaway: build a compost routine you can repeat
How to plan composting step by step when space is limited
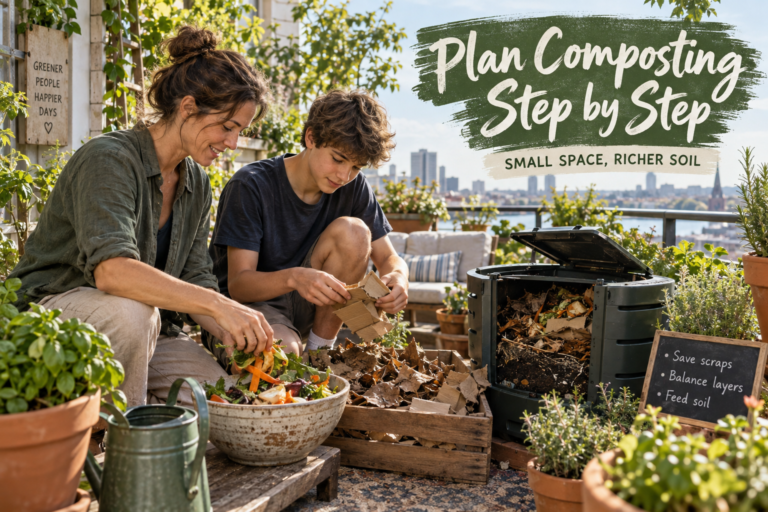
To plan composting step by step, start with the space you actually have, pick one container that fits it, collect a reliable supply of dry browns, and add kitchen greens in small layers. Keep the mix as damp as a wrung-out sponge, give it air, and correct problems by observing moisture and smell rather than chasing a perfect recipe.
First, measure the area where the system will live. A balcony, side yard, patio corner, garage-adjacent strip, or small garden can all work if the container is stable and easy to reach. Convenience matters because composting fails more often from neglect than from lack of knowledge. If opening the bin requires moving bicycles, lifting a heavy lid, or crossing an icy yard, you are less likely to use it consistently.
Next, decide what kind of system matches your habits. A lidded bin is simple and tidy. A tumbler can make turning easier but usually has less capacity. A worm bin is useful indoors or in protected areas when you are comfortable managing bedding and moisture. A compact open pile can work in a small yard if local rules allow it. Whatever you choose, make sure drainage and airflow are possible and that food scraps can be covered quickly.
- Measure the footprint and height available for your compost container.
- Estimate how many cups or bowls of food scraps your household creates in a normal week.
- Choose one primary system and place it where adding material will be easy.
- Store a dry brown material nearby, such as shredded cardboard, dry leaves, or uncoated paper.
- Keep a small covered kitchen caddy so scraps reach the compost before they become a counter problem.
What should go into a beginner compost mix?
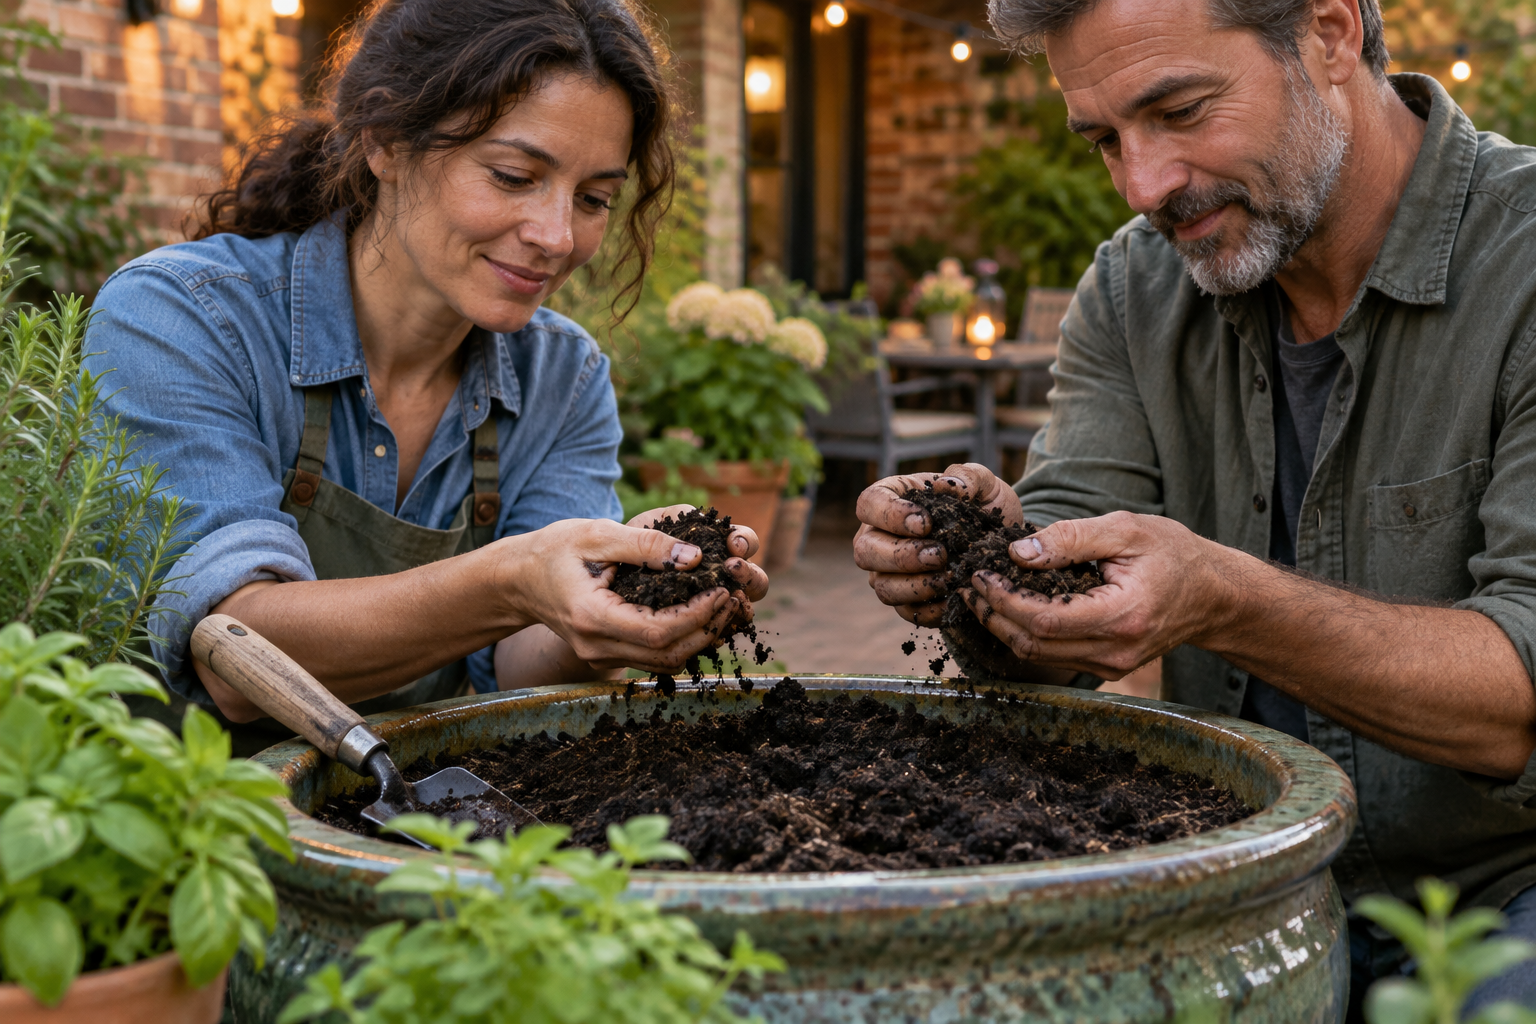
Think in two broad groups. Greens are generally moisture- and nitrogen-rich materials: vegetable and fruit scraps, coffee grounds, fresh plant trimmings, and small amounts of fresh grass. Browns are drier, carbon-rich materials: dry leaves, shredded plain cardboard, paper egg cartons, small dry twigs, and untreated wood shavings. You do not need to weigh every handful, but your bin should contain enough browns to keep the greens from matting together into a wet mass.
For a small-space system, particle size helps. Tear cardboard into palm-size or smaller pieces. Chop thick stems and large scraps so they expose more surface area. Avoid compacting everything into tight layers. A useful visual cue is to add a layer of scraps, then cover it with enough browns that most fresh food is no longer visible. That simple habit reduces odor and makes the bin less attractive to flies.
Skip meat, fish, dairy, oily cooked foods, large amounts of sauce, pet waste, glossy coated paper, and anything treated with chemicals unless your specific municipal or commercial system explicitly accepts them. Home compost bins do best with uncomplicated plant-based inputs. Diseased plants and mature weed seeds can also be risky because a small bin may not become hot enough throughout to neutralize them.
A tidy compost bin is less about perfection and more about giving moisture, carbon, air, and time a chance to stay in balance.
Why a seasonal composting plan works better than one fixed routine
Your compost changes with the weather. In spring, garden cleanup may suddenly give you many fresh trimmings. In summer, heat can dry a small bin quickly. Autumn may provide more leaves than you could use in one month. Winter slows biological activity, especially in exposed containers. Planning around those shifts makes small space composting much easier because you can save the material that solves the next season’s problem.
In spring, restart the system by loosening any compacted winter material and mixing in dry structure. As temperatures rise, add scraps regularly but keep each addition modest. In summer, check moisture every week. If the contents look dusty and papery, add a little water while mixing; if they are wet and heavy, add browns. On very hot balconies, shade can prevent the container from baking dry.
Autumn is the best time to build a brown-material reserve. Bag dry leaves in breathable sacks or store them in a lidded container where they stay dry. They are valuable through winter when fresh browns are harder to find. During colder months, keep adding smaller amounts if your system can handle them, cover every addition, and accept that decomposition may slow. Do not overfill a sluggish bin simply because the scraps keep coming.
- Spring: loosen, mix, and rebuild airflow.
- Summer: protect moisture balance and avoid overheating or drying out.
- Autumn: collect and store dry leaves for future brown material.
- Winter: reduce additions if decomposition slows and keep the surface well covered.
In practice: three small-space composting scenarios
Maya’s apartment balcony: Maya cooks most nights and produces a bowl of vegetable scraps every day or two. She uses a compact lidded bin outside and keeps shredded cardboard in a weatherproof tote. Each time she empties the kitchen caddy, she mixes the scraps into the center and covers them with cardboard. Once a week she lifts a handful with a glove. If it clumps lightly and feels damp without dripping, she leaves it alone. Her goal is not speed; it is a clean system that fits her routine.
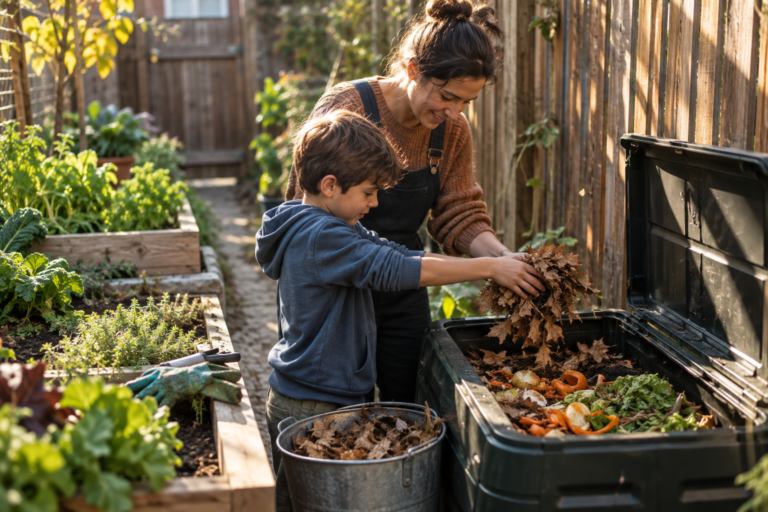
Daniel’s tiny row-house yard: Daniel has more leaves and garden trimmings than kitchen scraps. He uses a simple bin beside two raised beds. In autumn he saves several sacks of dry leaves instead of adding them all at once. Through spring and summer, those leaves become his balancing material whenever grass clippings or food scraps make the bin too wet. Because he already has browns ready, troubleshooting takes minutes.
Nina’s shared patio: Nina shares outdoor space with neighbors and wants the setup to stay discreet. She freezes messy scraps such as melon rinds until she is ready to add them, chops large pieces, and buries each addition under older compost and dry paper. She wipes the lid and surrounding area during her weekly check. That small housekeeping routine matters as much as decomposition because a shared-space system has to work socially as well as biologically.
Frequently asked questions
How often should I turn a small compost bin?
You do not need a strict schedule. For many small bins, loosening or mixing the material about once a week is a practical starting point. Turn sooner if the center becomes compacted, slimy, or smelly. If the mixture is airy, evenly damp, and breaking down well, excessive turning is unnecessary.
What do I do if my compost has fruit flies?
Bury fresh scraps several inches into older material, cover the top with a generous layer of dry browns, and keep the lid closed. Avoid leaving exposed fruit on the surface. Freezing scraps before adding them can also make kitchen storage easier while you reset the bin.
How can I tell if compost is too wet?
Too-wet compost feels heavy, sticky, or matted and may smell sour. You may also see liquid pooling below. Mix in shredded cardboard, dry leaves, or another absorbent brown material while loosening the contents. Check drainage so excess water has a path out.
Can I compost on a balcony?
Yes, if your building rules allow it and you choose a contained system suited to the space. Focus on secure lids, controlled moisture, frequent covering with browns, and modest additions. A tidy bin that is easy to inspect is more appropriate for a balcony than an oversized system you cannot manage.
When is compost ready to use?
Finished compost is usually dark, crumbly, and earthy-smelling, with few recognizable food scraps remaining. Let partially decomposed material continue breaking down rather than screening it too early. In containers, use finished compost as one component of a growing mix rather than assuming it should replace all potting mix.
Your action checklist
- Measure the exact spot where your compost system will live.
- Choose one bin style that matches your space and weekly scrap volume.
- Collect a starter supply of dry leaves or shredded plain cardboard.
- Set up a small covered kitchen scrap container.
- Layer fresh scraps with browns and keep exposed food covered.
- Check moisture, smell, and airflow once a week.
- Save autumn leaves so you have browns through colder months.
Takeaway: build a compost routine you can repeat
The best way to plan composting step by step is to make each step easy enough to repeat. Give the bin a convenient home, keep browns within reach, cover every fresh addition, and use smell and moisture as feedback. Your compost does not need to look like a textbook diagram to become useful. A small system that you check regularly will teach you more than a complicated setup you avoid. Start this week by choosing the location and gathering one container of dry browns; that single move makes the rest of the routine much easier.
2 Comments